Quick Start Guide
Get up and running with Pitchfork in under 10 minutes
Prerequisites
Before starting, ensure you have:
- A Pitchfork account (register at getpitchfork.com)
- At least one OSRS account to manage
- A computer with Java Runtime Environment 8 (or 11 for runelite) installed
- Google Chrome installed (required for agent functionality)
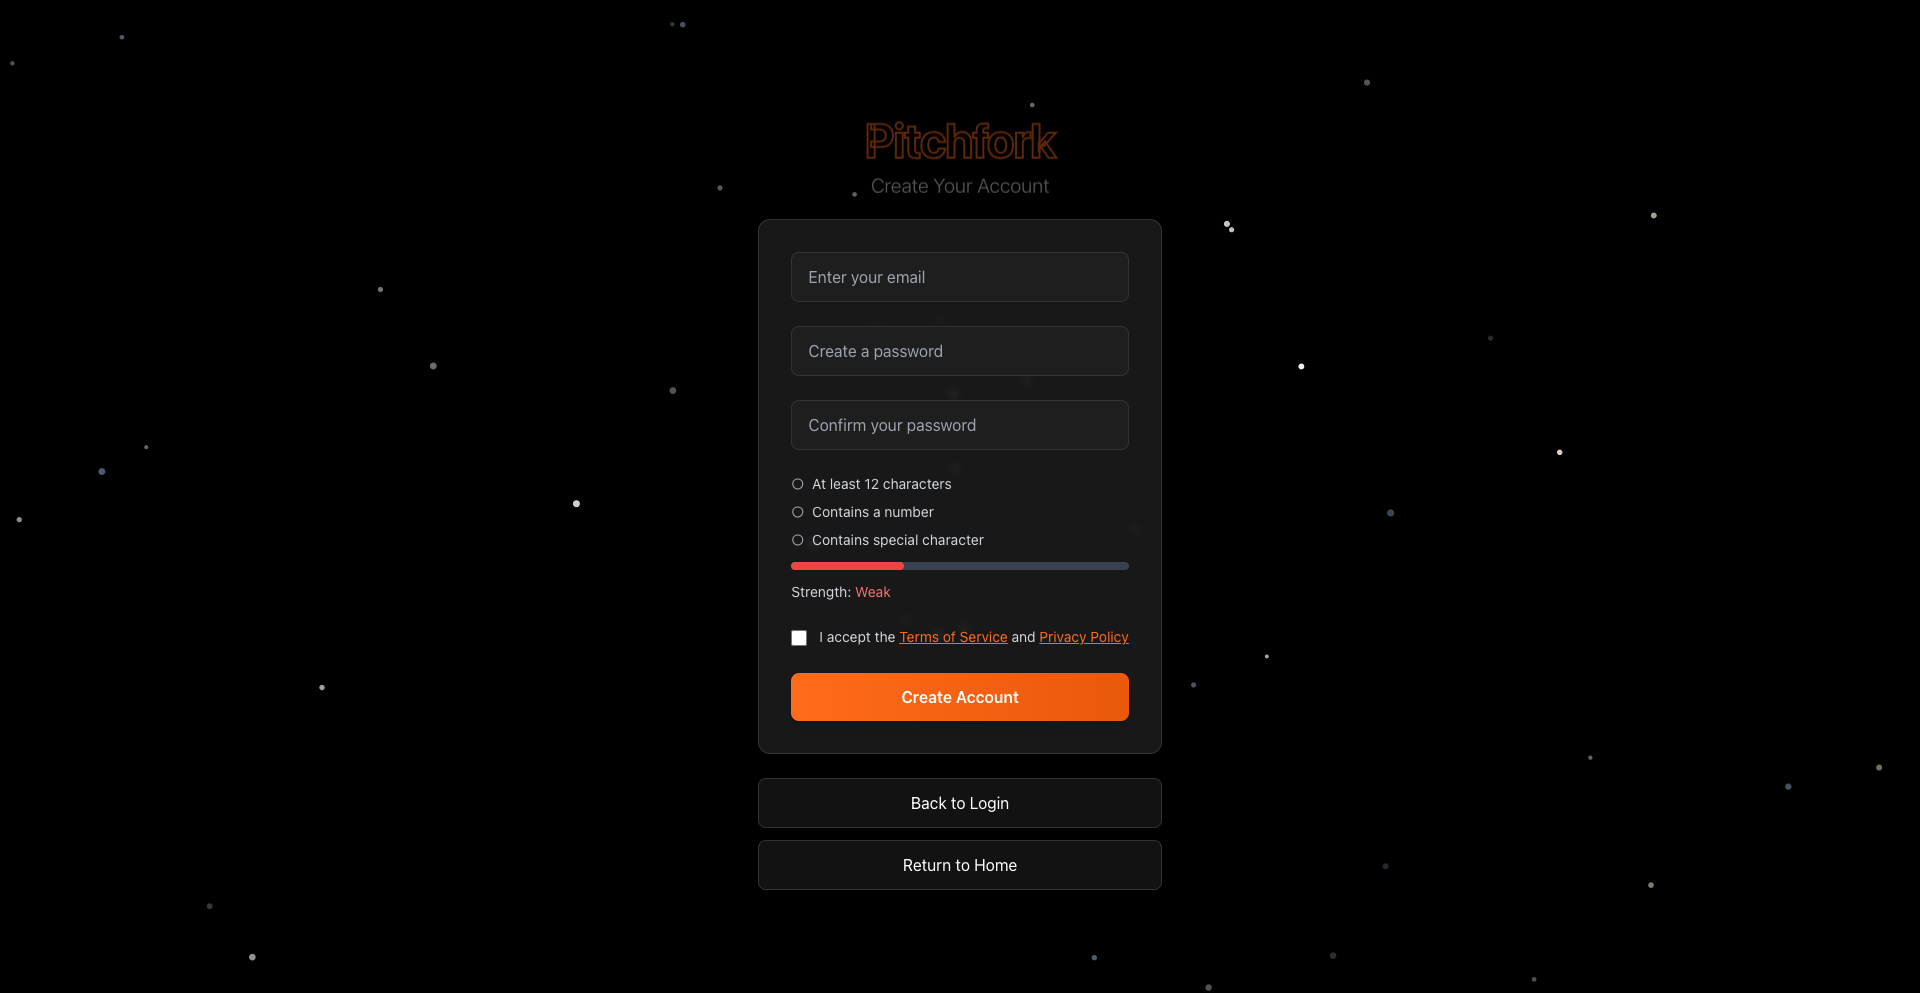
The registration form looks like this — pick a strong password (12+ chars, a number, a special character) and accept the terms of service:
Step 1: Initial Login
- Navigate to the dashboard
- Click Login in the top navigation
- Enter your credentials:
Email: your-email@example.com
Password: your-secure-password- If you have 2FA enabled, enter your authentication code
- You'll be redirected to the main dashboard
On first login, the inline Getting Started checklist explains the setup flow without blocking the page. Follow the agent → client instance → script activity → account sequence from its links, and reopen it anytime with Getting Started in the sidebar. After all four required steps are complete, the open guide keeps a short next-step: run or connect your agent, then go to Accounts to select accounts and launch a script. Importing proxies is optional; you can pair them during account import or later from Accounts.
Step 2: Import Your First Account
Method A: Quick Text Import
- Click Import Accounts on the Accounts page
- Use the account import page's text import form.
- Enter your account details in the one of the following formats:
The import form looks like this — paste accounts into the textarea, one per line:
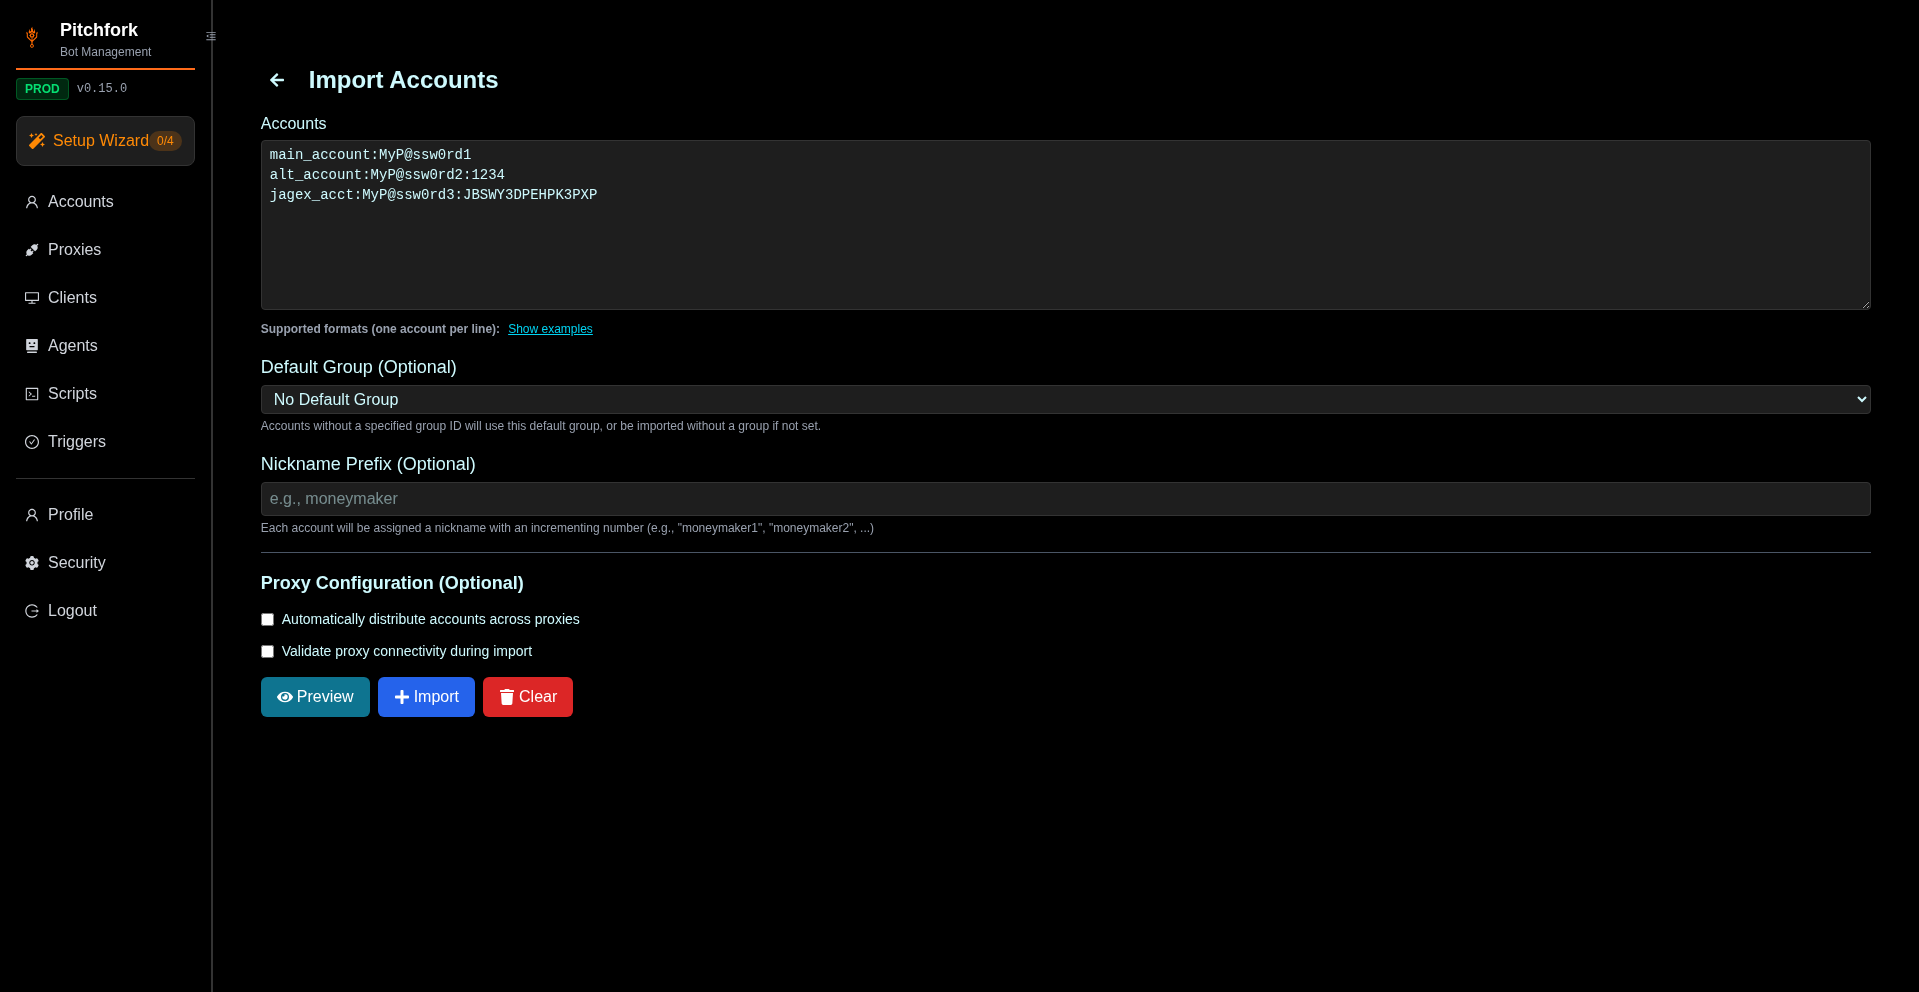
- Click Import to add the accounts
- You'll see your accounts appear in the main table:
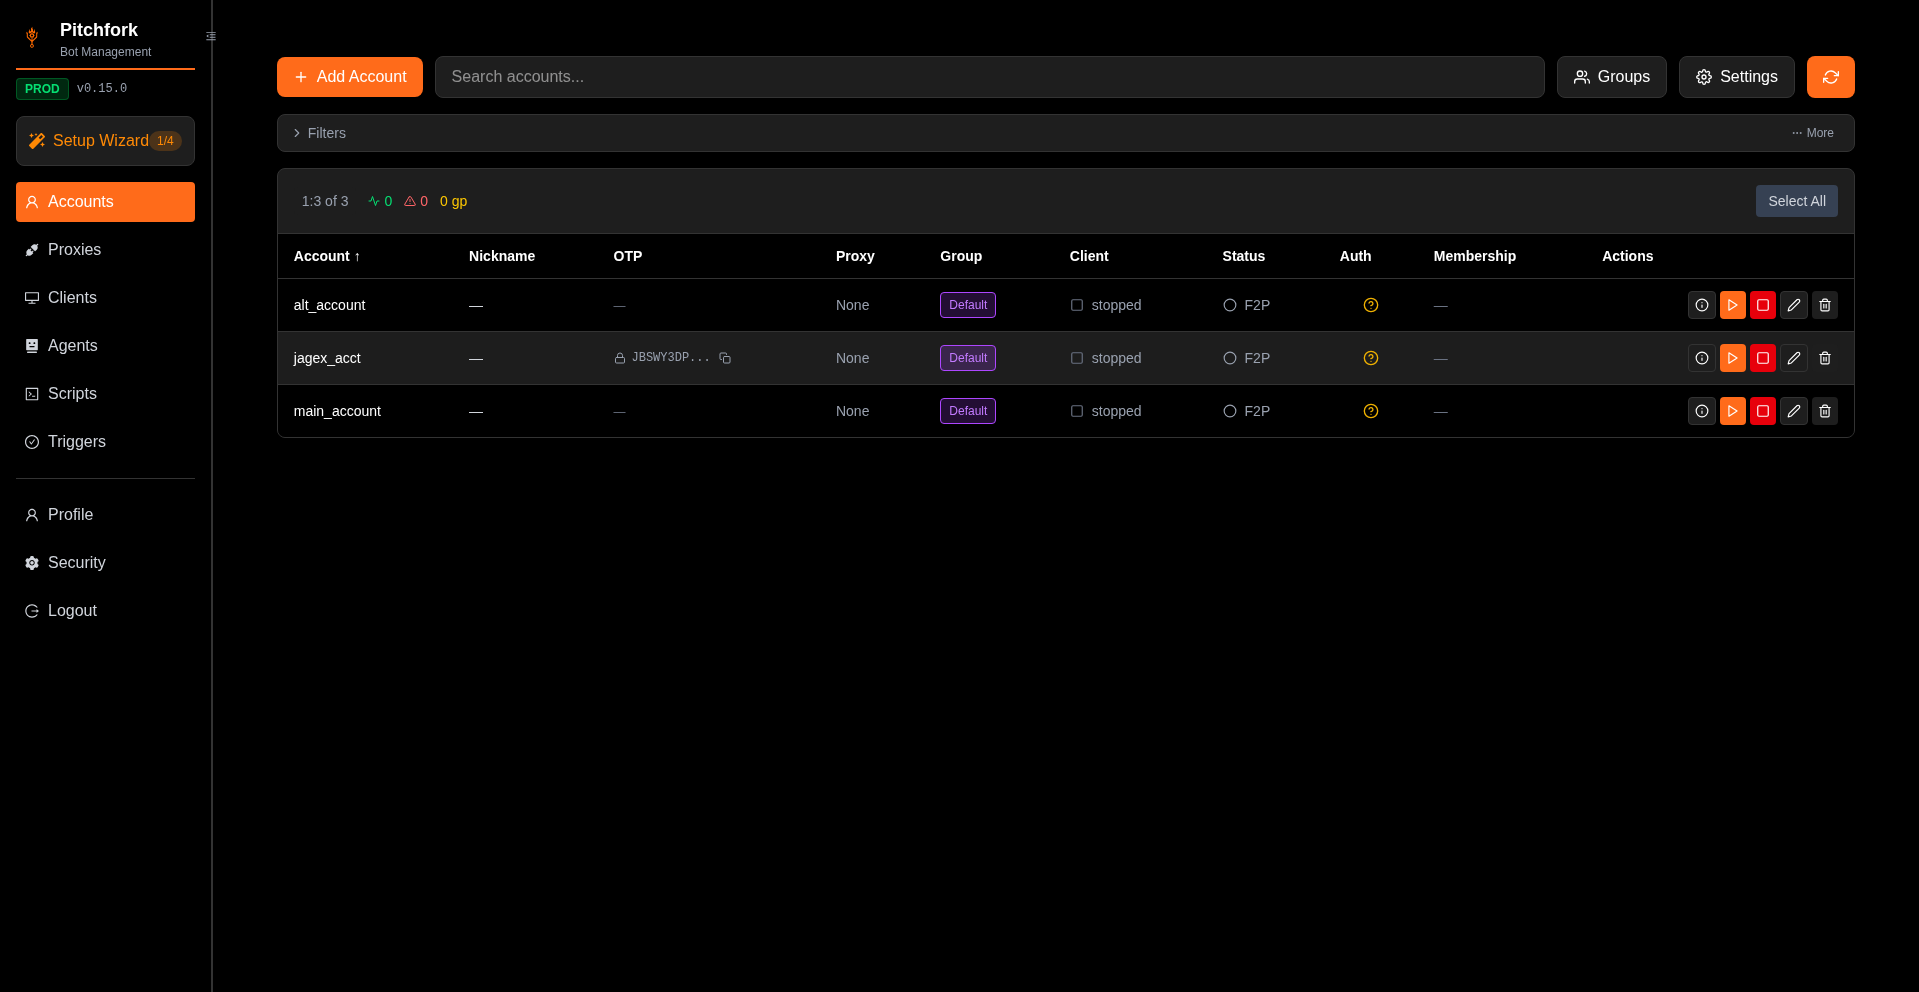
For the full reference of supported fields and formats, see Importing.
Step 3: Create Your First Agent
Agents are the workers that run your bots — small binaries that connect to Pitchfork over WebSocket and launch bot clients on your machine.
-
Navigate to Agents
-
Click Create Your First Agent (or Create Agent if you already have one)
-
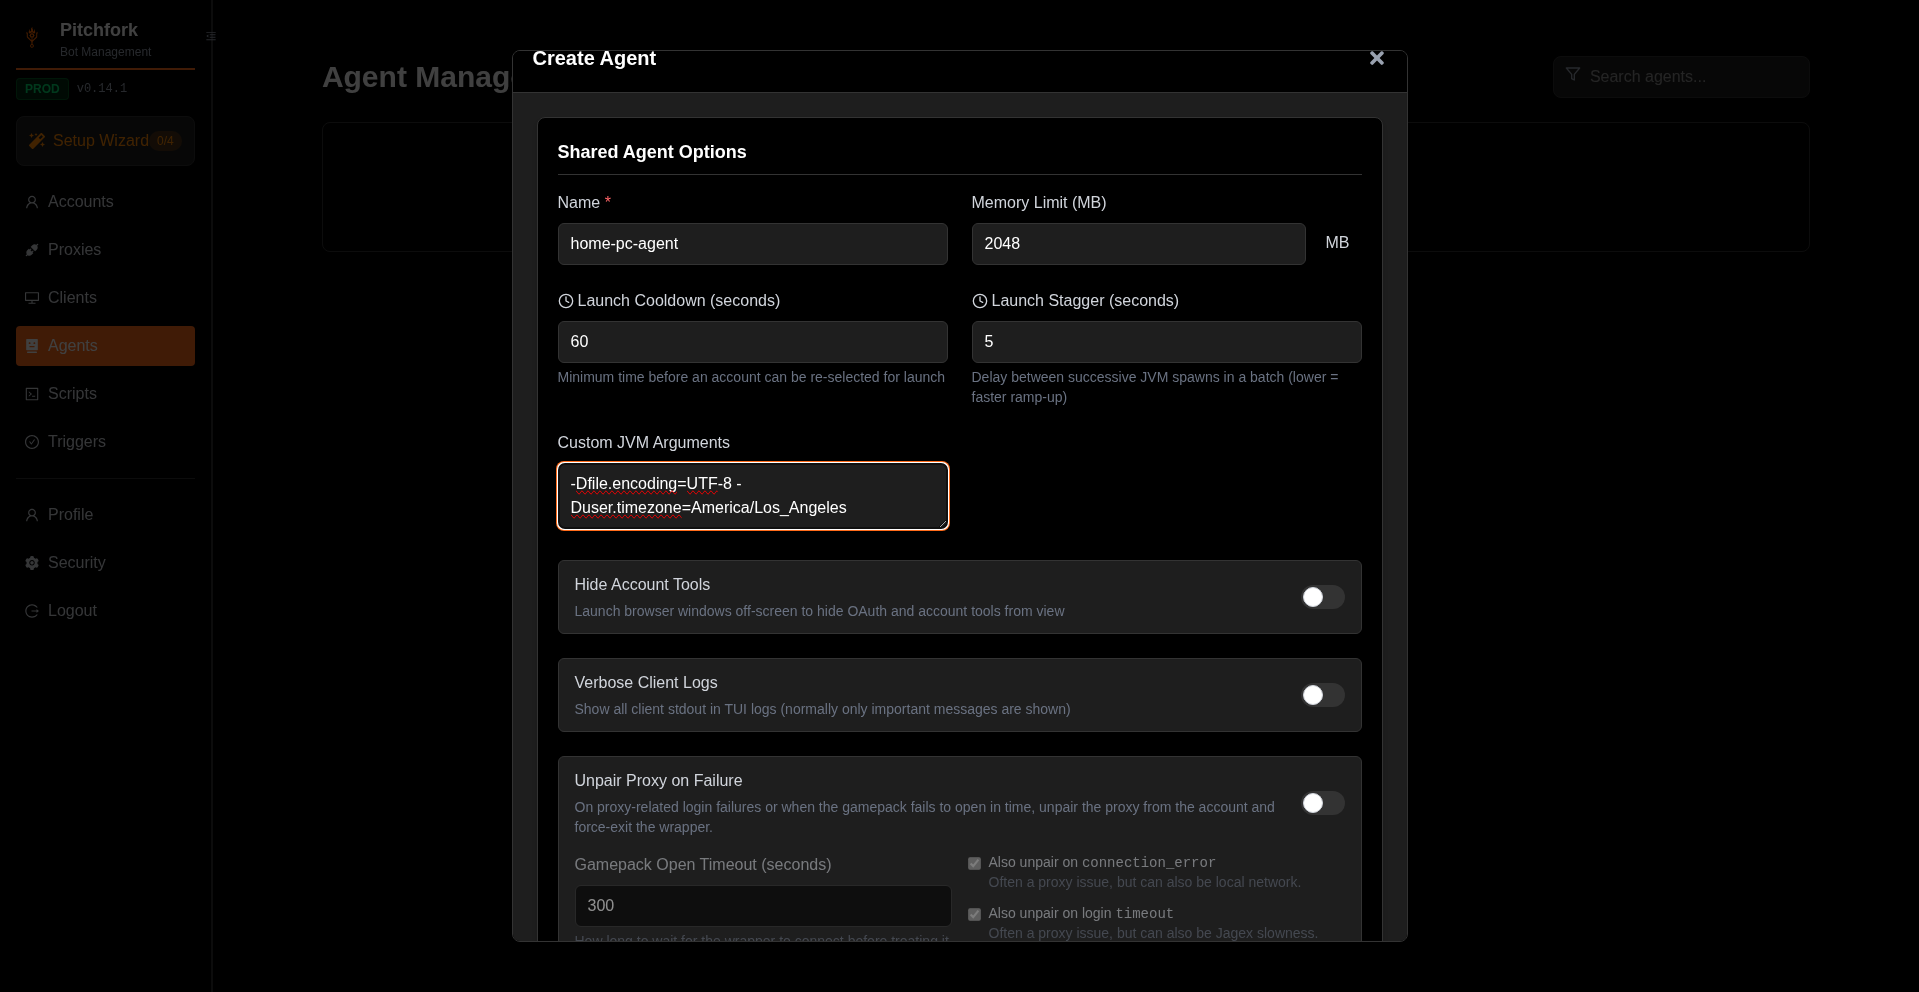
Fill in the details — only Name is required; the rest have sane defaults:
- Name — e.g.
home-pc-agent - Memory Limit (MB) — heap cap; bump to 1024–2048 if you'll run multiple clients
- Custom JVM Arguments (optional) — applies to every client this agent runs (timezone, encoding, etc.). See Configuration for the difference vs Client Instance args.
- Name — e.g.
-
Click Create Agent.
Download and Run the Agent
- Click Download Agent icon
- Select the appropriate binary for your platform
- Run the agent binary
- You should see a window with the following:
[INFO] Agent connected successfully
[INFO] Waiting for commands...
Step 4: Configure a Bot Client
-
Navigate to Clients
-
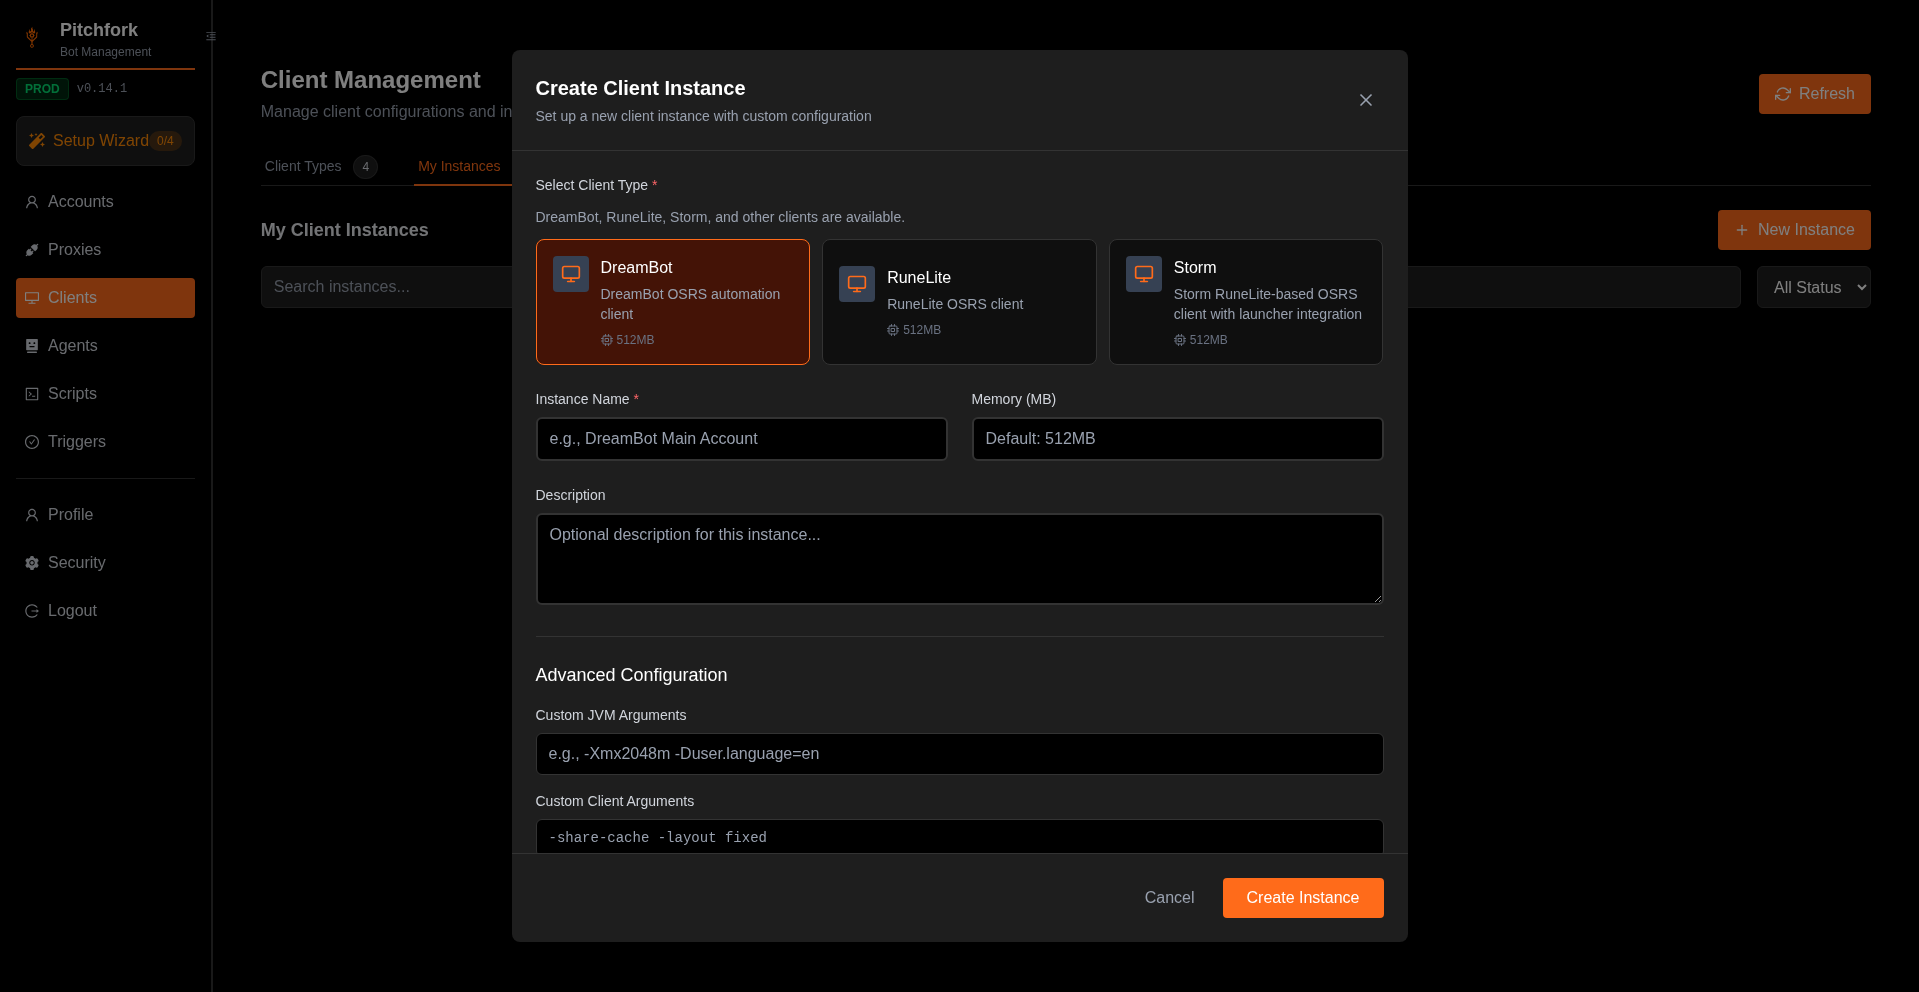
On the Client Types tab, click Create Instance on the tile for your client (RuneLite or MicroBot)
-
Set:
- Instance Name — e.g.
runelite-default - Memory (MB) — usually fine at 512; bump for memory-hungry scripts
- Custom JVM / Custom Client Arguments (Advanced) — see Configuration for what goes where
- JAR Path — required for RuneLite and Custom clients only
- Instance Name — e.g.
-
Click Create Instance.
Step 5: Create a script activity
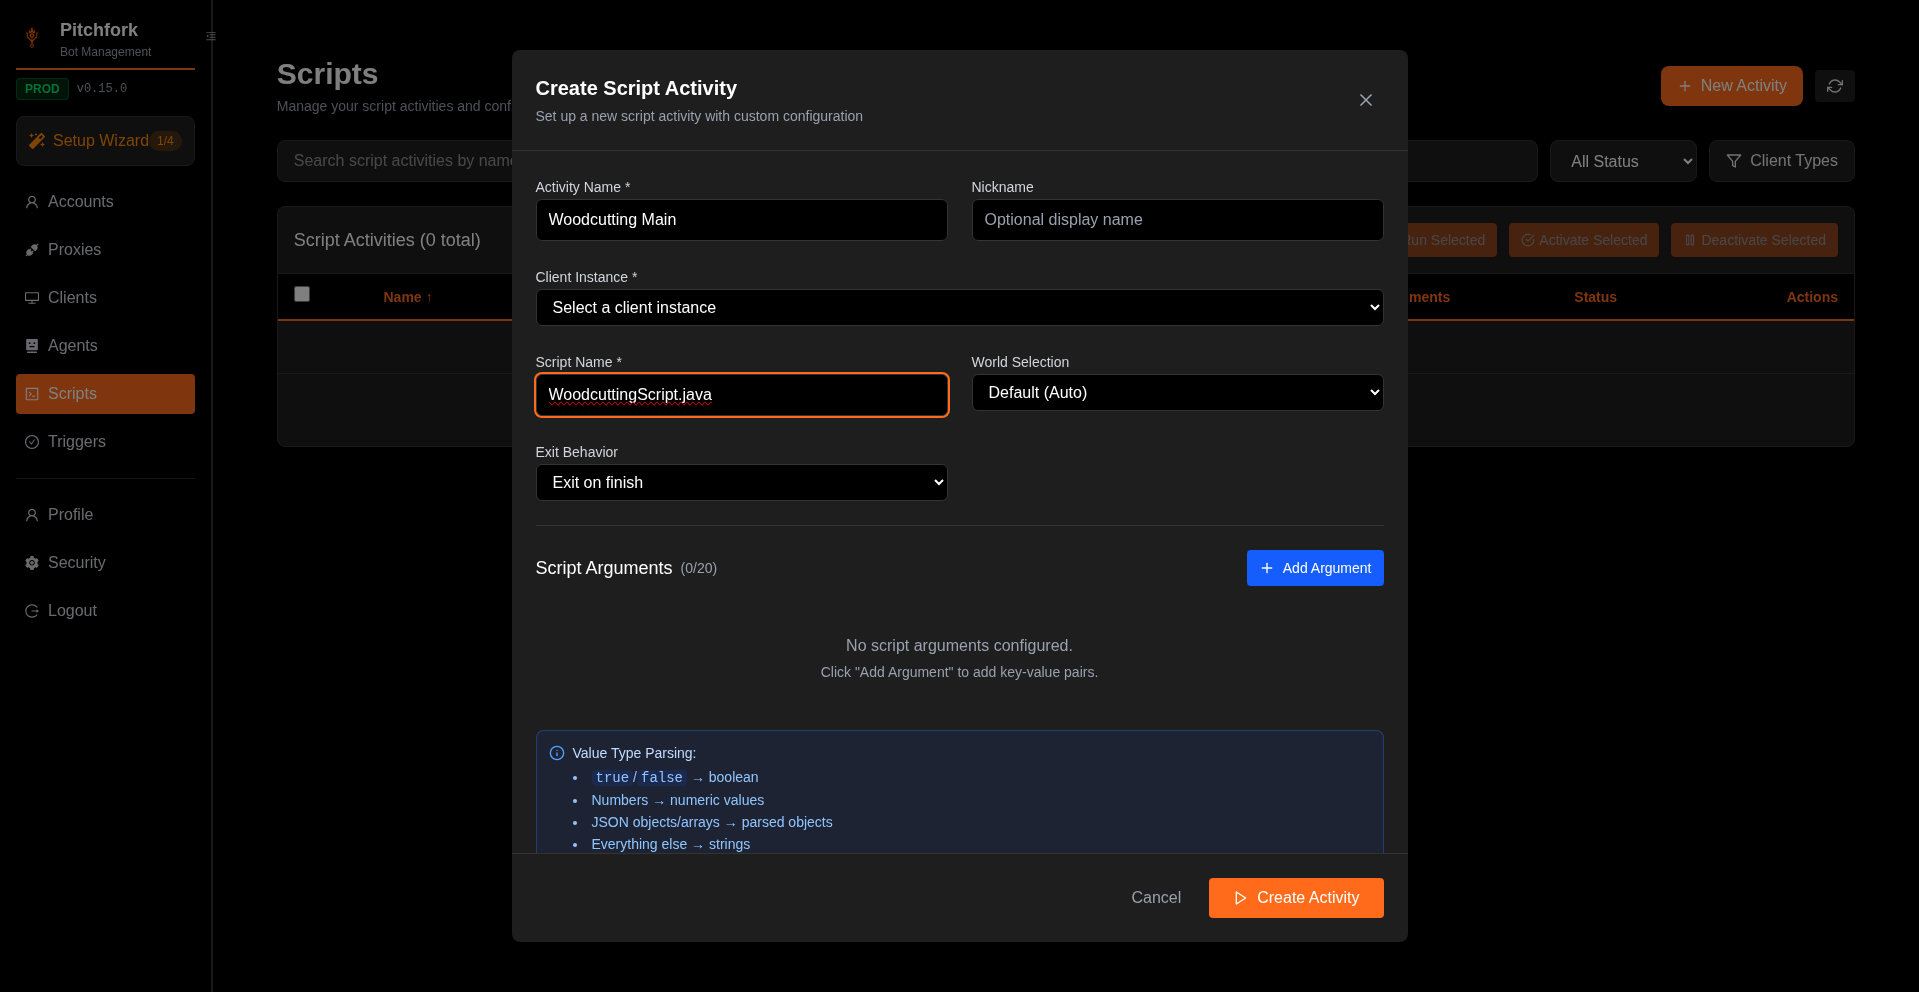
A Script Activity ties together a script (by name), a client instance to run it on, and any arguments. You'll reference it later when launching a bot.
-
Navigate to Scripts
-
Click New Activity
-
Fill in the form:
- Activity Name — display name in the Pitchfork UI (e.g.
Woodcutting Main) - Client Instance — pick the one you created in Step 4
- Script Name — the script identifier passed to the client (e.g. a script ID or class name for your client)
- World Selection (optional) — pin to a specific world, or leave on
Default (Auto) - Exit Behavior — what to do when the script finishes (
Exit on finishis the safe default) - Script Arguments (optional) — key/value pairs passed to your script
- Activity Name — display name in the Pitchfork UI (e.g.
-
Click Create Activity.
Step 6: Launch Your First Bot
Now let's put it all together:
- Return to Accounts (
/protected/accounts) - Select the account you want to bot with (checkbox)
- Click Launch Script button
- In the modal, configure:
Script: Select your script
Client: Select the client instance you created
Agent: Select your running agent
World: 302 (or leave blank for random)
Arguments: Script-specific parameters- Click Launch
- Monitor the status - it should change to Running within 30 seconds
Monitoring Bot Status
Watch your bot's progress in real-time:
- Status Badge: Shows current state (Running/Idle/Stopped)
- Runtime: Displays how long the bot has been running
- Last Activity: Shows when the bot last reported status
- WebSocket Icon: Indicates real-time connection status
Verification Checklist
✅ Account Imported: Visible in Accounts table
✅ Script Activity Created: Script Activity created and visible
✅ Agent Running: Shows "Connected" status in Agents page
✅ Client Configured: Client instance saved and ready
✅ Bot Launched: Account status shows "Running"
✅ Real-time Updates: WebSocket indicator is green
Getting Help
If you encounter issues:
- Review the FAQ for common questions
- Visit our Discord for community support
- Confused about JAR Path or Custom Args? See Configuration
Ready to dive deeper? See Triggers for automation, Account Tools for batch workflows, or the Public API for programmatic access.
Was this page helpful?